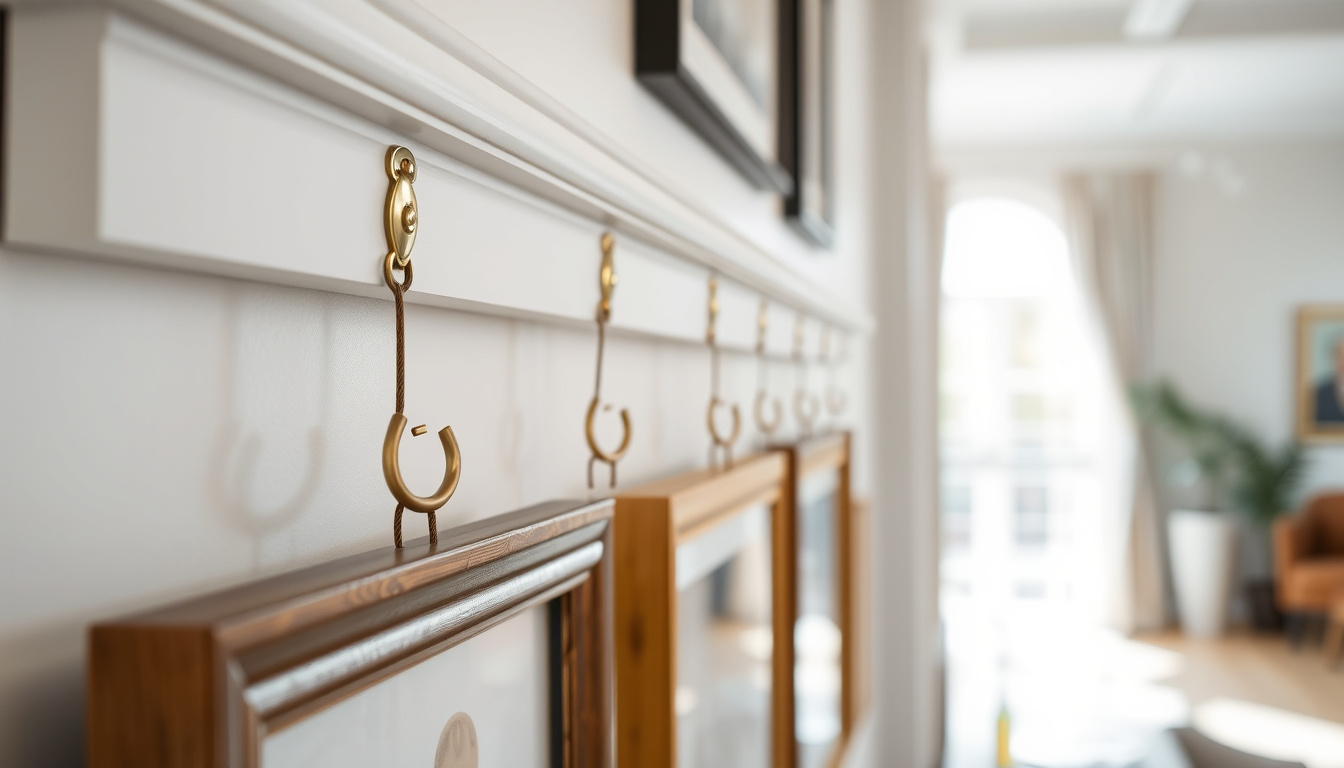
Swap artwork without making a single new hole in the wall — that’s the promise of a picture rail. This traditional moulding, fixed high on the wall, uses hooks and chains to hold framed pieces, and a standard 68 mm × 30 mm red deal rail costs around €19.70 for an 8 ft length (Woodworkers.ie (Irish builders’ merchant)).
Example retail price: €19.70 VAT incl. for an 8 ft red deal rail (Woodworkers.ie) · Common product size: 68 mm × 30 mm × 2.4 m (Woodworkers.ie) · Hook capacity: Single loads up to 25 lbs per hook (Best Home Guides (home hardware review))
What is a picture rail?
A picture rail is a horizontal moulding fixed high on a wall, used to hang framed art and mirrors with hooks, wires and chains.
How do picture rail hooks work?
Picture rail hooks sit over the top edge of the rail and provide a loop for wire or chain.
What sizes and prices are typical?
Red deal pine picture rails are sold in lengths such as 2.4 m and 8 ft; an 8 ft rail costs around €19.70 VAT incl.
Where should a picture rail be placed?
Guidance ranges from 30–50 cm below the ceiling, depending on ceiling height and cornice depth.
Whether you’re restoring a period property or adding character to a new build, the mechanics of picture rails — and how to install them properly — make all the difference.
At its simplest, a picture rail is a horizontal moulding fixed high on a wall — usually just below the ceiling or cornice — that lets you hang framed pictures, mirrors and other artwork using hooks, wires and chains. Practical DIY (UK carpentry guide) notes that traditional rails were often made from hardwood and fixed securely to the wall structure.
Picture rails are placed much higher, typically 30–50 cm (12–18 in) below the ceiling or cornice line (How to Home Edition). For 8‑ft ceilings, some guides suggest just 1–2 in below the ceiling, while 10‑ft ceilings can accommodate 8–12 in of drop (The Craftsman Blog). Dado rails are not shaped to hold hooks and are not fixed with the structural intent of supporting weight.
| Aspect | Picture rail | Dado rail |
|---|---|---|
| Primary purpose | To hang framed art and mirrors without making new wall holes | To protect walls from scuffs and add decoration |
| Position on wall | High, 30–50 cm below ceiling (Practical DIY) | Around 90 cm from floor (waist height) |
| Fixing requirement | Must be fixed to studs (A Beautiful Mess (DIY blog)) | Decorative only; lighter fixing acceptable |
| Designer view | An efficient, flexible way of hanging art (House & Garden) | Simple way to add decoration to walls (B&Q) |
| Product example | Red deal pine picture rail 68 mm × 30 mm × 2.4 m | Dado rail moulding in various profiles |
| Price example | €19.70 VAT incl. for an 8 ft rail (Woodworkers.ie) | Varies by profile and material |
What is a picture rail?
Picture rails are a traditional architectural feature that reinforces the character of period interiors. Their original purpose was to protect wall surfaces from scuffs, and they remain common in dining rooms, hallways and period properties (B&Q (DIY retailer Ireland)).
By creating a strong horizontal line and allowing a two‑tone wall treatment (darker below, lighter above), a picture rail can make a room feel taller and more spacious.
How do you install a picture rail?
What materials do you need?
- Timber moulding: red deal (pine) picture rail profile, typically 68 mm × 30 mm (Woodworkers.ie)
- Construction adhesive and nails suitable for the wall type
- Spirit level, tape measure, chalk line, laser level (HGTV (home improvement TV))
- Mitre saw for cutting corners
How do you cut and fix picture rail moulding?
- Measure and mark the rail height on the wall using a laser level or chalk line (HGTV).
- Cut the rail to length with a mitre saw, using 45° angles at inside and outside corners so the joints meet cleanly (Little House on the Corner).
- Apply construction adhesive to the back of the rail, align it with your line, and fix it with nails every 50 cm (20 in) into wall studs (Skirting World (UK moulding retailer)).
- Fill nail holes and paint the rail to match your trim.
How high should a picture rail be?
- Standard guidance: 30–45 cm (12–18 in) below the ceiling or cornice (Practical DIY).
- Low ceilings (8 ft): as little as 1–2 in below the ceiling to avoid making the room feel cut short (The Craftsman Blog).
- High ceilings (10 ft): 8–12 in of drop works well visually.
If the cornice protrudes further than the rail, the moulding will sit behind it and the hooks won’t seat properly. Check the cornice depth before fixing the rail.
How do picture rail hooks work?
Gallery System (picture‑hanging hardware brand) provides downloadable installation instructions for their hangers. Picture Rail Australia (specialist supplier) advises using a hook rated for the mirror’s weight and ensuring the rail is screwed into solid wall structure.
A typical picture rail hook sold in kits is rated for about 25 lbs (11 kg) per hook (Best Home Guides).
Nails into plasterboard alone are insufficient for heavy loads (Our Aesthetic Abode (home decor blog)). Gallery System offers hangers rated for up to 50 lbs when paired with their rail profile.
A Beautiful Mess notes that a rail not fixed to studs may fail under moderate weight.
A picture rail can hold a surprising amount of weight — but only if its fixings are up to the job. Always screw or nail into studs, not just plasterboard.
Do picture rails suit modern homes?
Not at all. B&Q notes that picture rails and dado rails are seen as simple ways to add decoration to walls, and they work in both traditional and contemporary settings.
Modern DIY and retail availability (e.g., Brooks, Woodworkers.ie) has made picture rails accessible beyond period properties. Picture rail kits with hooks and nylon cords are sold for quick installation (Best Home Guides).
“A picture rail is one of the most flexible ways to display art — you can change the layout whenever you want without committing to new holes.”
— Carlos Garcia, designer, quoted by House & Garden (design magazine)
“Picture and dado rails are simple ways to add decoration to walls.”
— B&Q (DIY retailer Ireland), product category copy
Picture rail FAQs
How do I remove a picture rail without damaging the wall?
Use a pry bar with a scrap piece of wood behind it to protect the plaster. Slide the bar under the rail near a fixing point and gently lever it away. Remove nails with pliers or a nail punch, then fill and sand the holes.
Can I install a picture rail in a plasterboard wall?
Yes, but you must fix the rail into studs or use appropriate wall anchors. Nails into plasterboard alone are insufficient for heavy loads.
How much weight can a picture rail hold?
It depends on the rail and fixings. Individual hooks are typically rated at 25 lbs; some systems support hangers up to 50 lbs when correctly installed into studs.
What is the difference between a picture rail and a dado rail?
A picture rail is mounted high on the wall, near the ceiling, and is shaped to hold hooks. A dado rail is mounted at waist height and is purely decorative or protective.
Final verdict
For a homeowner in Ireland or the UK weighing whether to install a picture rail, the decision comes down to wall structure and style preference. Picture rails work with almost any decor, protect walls from repeated nail holes, and make rotating artwork effortless.
As long as the rail is fixed into studs and the hooks are rated for the weight, a picture rail is a practical and elegant addition to a home.
Related stories




Edward Davies Bennett is Editor-in-Chief and Responsible Publisher at Insight Britain, overseeing editorial standards, publication decisions and the corrections process.