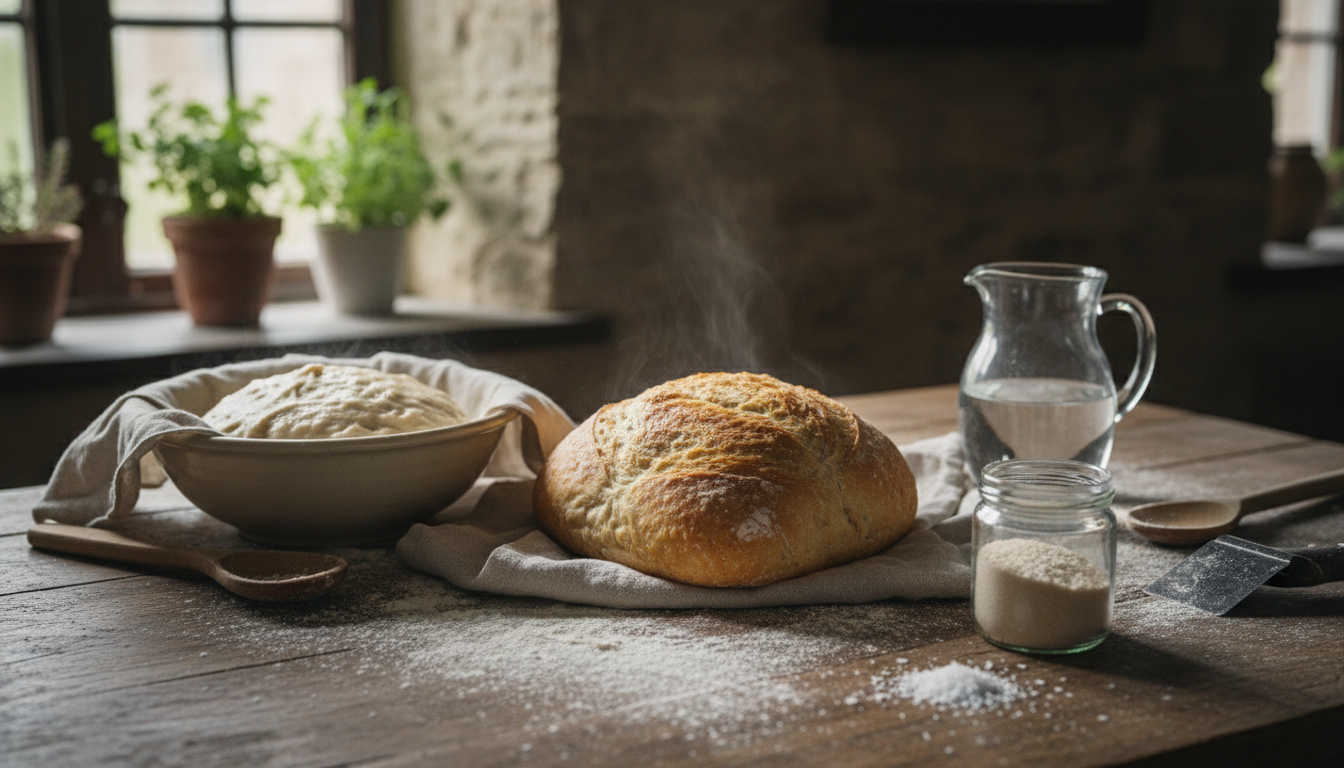
Homemade bread requires six fundamental ingredients and approximately three hours from mixing to slicing. Warm water between 110–115°F activates yeast, which ferments sugars to create carbon dioxide bubbles that leaven the dough, while kneading develops gluten proteins that trap these gases and provide structure.
The process yields one to two loaves suitable for sandwiches or artisan applications, with a material cost of roughly $1–2 per loaf depending on flour quality and bulk purchasing. Unlike commercial varieties, homemade versions contain no preservatives and maintain optimal texture for three to four days when stored properly.
This guide addresses essential equipment, step-by-step techniques, timing variables, and troubleshooting methods based on established baking standards and professional recipe testing.
What Ingredients and Tools Do You Need to Make Bread?
Six components form the foundation: warm water (1–1.5 cups), active dry or instant yeast (2–2.25 teaspoons), sugar or honey (2 tablespoons), oil (2 tablespoons), salt (1 teaspoon), and all-purpose or bread flour (2.5–4.5 cups). Source measurements indicate that flour quantities vary significantly based on ambient humidity, requiring gradual addition.
Equipment needs remain minimal. A large mixing bowl, measuring cups and spoons, and either a stand mixer with dough hook or a clean work surface for hand-kneading suffice. A standard 9×5 inch loaf pan shapes sandwich bread, while a Dutch oven accommodates no-knead artisan variations.
Key Preparation Insights
- Water temperature below 105°F fails to activate yeast; above 120°F kills it
- Bread flour (higher protein) produces chewier texture than all-purpose
- Dough should feel tacky but not stick excessively to clean fingers
- Room temperature between 75–85°F accelerates rising without degrading flavor
- Instant yeast mixes directly with flour; active dry requires proofing in water first
- Internal doneness requires 190–200°F regardless of crust color
- Whole wheat substitutions above 50% require additional water or vital wheat gluten
| Component | Standard Measure | Function |
|---|---|---|
| Warm Water | 1–1.5 cups (110–115°F) | Hydrates flour and activates yeast |
| Yeast (Active Dry) | 2–2.25 tsp | Produces carbon dioxide for leavening |
| Sweetener | 2 Tbsp sugar or honey | Feeds yeast fermentation |
| Fat (Oil/Butter) | 2 Tbsp | Retains moisture and softens crumb |
| Salt | 1 tsp | Controls fermentation speed and enhances flavor |
| Flour | 2.5–4.5 cups | Provides gluten structure through kneading |
| First Rise Duration | 30–90 minutes | Doubles dough volume via fermentation |
| Second Rise Duration | 45–60 minutes | Final proofing before baking |
| Bake Temperature | 375°F or 475°F | 375°F for soft loaves; 475°F for crusty artisan |
| Safe Internal Temp | 190–200°F | Ensures proper starch gelatinization |
| Active Preparation | 20 minutes | Hands-on mixing and shaping time |
| Caloric Content | ~150 per slice | Varies by flour type and loaf size |
How to Make Bread: Step-by-Step Instructions
Activating Yeast and Initial Mixing
Combine warm water, yeast, and half the sweetener in your mixing bowl. Allow the mixture to stand for 5–10 minutes until foamy; this visual confirmation indicates viable yeast. Add remaining sugar or honey, oil, and salt, stirring to dissolve.
Incorporating Flour
Add 2–3 cups of flour initially, mixing until just combined. Continue adding flour in half-cup increments until the dough pulls away from the bowl sides while retaining slight tackiness. Total flour requirements range from 2.5 to 4.5 cups depending on specific humidity levels.
Kneading and Gluten Development
Knead using a stand mixer dough hook on medium speed for 5–10 minutes, or manually on a lightly floured surface for 5–8 minutes. Properly kneaded dough appears smooth and elastic, passing the windowpane test: a small piece stretched thin should not tear.
Perform the windowpane test by pinching off a walnut-sized piece of dough. Gently stretch it between your fingers; properly developed gluten allows stretching until translucent without tearing. If it breaks immediately, continue kneading for 2–3 additional minutes.
First Rise and Punching Down
Transfer dough to an oiled bowl, turning to coat all surfaces. Cover with a damp towel or plastic wrap and place in a draft-free location maintaining 75–85°F. The dough should double in volume within , with being typical. Punch down firmly to deflate accumulated gases.
Shaping and Second Rise
Flatten the dough into a rectangle approximately the width of your loaf pan. Roll tightly into a log, pinching the seam to seal. Place seam-side down in a greased 9×5 inch pan. Cover loosely and proof for until the dough crests one inch above the pan rim.
Baking and Cooling
Preheat the oven to 375°F for soft sandwich bread or 475°F for crusty artisan loaves. Bake for 30–40 minutes until the crust achieves deep golden color. Verify doneness with an instant-read thermometer; the internal temperature must reach 190–200°F. Cool on a wire rack for at least 15 minutes before slicing to prevent gummy texture.
How Long Does It Take to Make Bread and What’s the Timeline?
Total production time spans for standard yeast breads, though no-knead variations extend this to to develop flavor complexity. The following sequence breaks down specific stages:
- Mixing and Activation: Combine water, yeast, and sugar. Wait for foamy confirmation.
- Kneading: Process dough until smooth— mechanically or manually.
- Bulk Fermentation (First Rise): Allow dough to double in volume, typically (range 30–90 minutes).
- Shaping: Deflate and form into loaf configuration, requiring approximately .
- Final Proof (Second Rise): Rest until dough rises one inch above pan, .
- Baking: Expose to dry heat for depending on loaf size and desired crust.
- Cooling: Rest on rack for to set internal structure.
Temperature significantly impacts these intervals. Dough at 68°F requires substantially longer rising periods than dough at 80°F. Extended fermentation periods produce more complex flavor profiles through increased acetic and lactic acid development.
Why Doesn’t My Bread Rise? Common Troubleshooting Tips
Failed rising stems primarily from expired yeast, improper water temperature, or environmental drafts. If the yeast mixture fails to foam within 10 minutes, the culture is likely inactive and requires replacement. Cold kitchens below 70°F dramatically slow fermentation, while excessive heat above 90°F can kill yeast cells or produce off-flavors.
Established Factors
- Yeast must produce visible foam to confirm viability
- Over-kneading produces dense, tough crumb structures
- Internal temperatures of 190–200°F indicate complete baking
- All-purpose flour absorbs 2.5–4.5 cups per 1–1.5 cups water
Variable Conditions
- Exact rising time depends on specific yeast strain and humidity
- Flour protein content varies by brand and harvest
- Proofing success occurs across 75–85°F range, not at a single precise temperature
- Altitude adjustments may be necessary above 3,000 feet
Dense bread results from excessive flour measurement or insufficient kneading. Weighing flour (approximately 120g per cup) provides more accurate results than volume measurement. Adding flour gradually prevents the dryness that inhibits proper rise and creates heavy texture.
Always verify yeast expiration dates before beginning. Expired yeast rarely activates, resulting in flat, dense loaves that cannot be remedied through extended rising times. Store unopened packets in cool, dry conditions; opened yeast requires refrigeration and use within four months.
Alternative Leavening Limitations
Baking powder or soda cannot substitute for yeast in these recipes; chemical leaveners produce quick breads with entirely different textures and density profiles. True yeast bread requires living culture for proper gluten development and flavor formation. Sourdough starters offer viable alternatives but require separate maintenance protocols not covered in basic recipes.
Easy Variations: No-Knead and Bread Machine Methods
No-Knead Artisan Technique
Combine 4 cups bread flour, 1 teaspoon salt, ½ teaspoon instant yeast, and 1.75 cups warm water into a shaggy, sticky dough. Cover and allow to rise at room temperature (68–72°F) for . The extended fermentation develops complex flavors and adequate gluten structure without mechanical kneading.
Shape the dough loosely into a boule on floured parchment paper. Let rest for 1–2 hours. Preheat a covered Dutch oven to 450–475°F. Bake covered for 30 minutes, then remove the lid and continue baking for 15 minutes to develop a crackling crust. This method produces professional-quality artisan loaves with minimal effort.
The 12–18 hour room temperature rise allows for slow fermentation that builds complex flavor compounds impossible to achieve in shorter timeframes. Cooler kitchens (65–70°F) favor the extended timeline without over-proofing.
Bread Machine Protocol
Add ingredients to the machine pan in the order specified by the manufacturer, typically liquids first followed by dry ingredients with yeast on top. Select the dough cycle for kneading and initial rising, then remove to shape and bake conventionally, or utilize the full bake cycle for hands-off production. Machine methods yield consistent results but may produce thicker crusts than hand-shaped methods.
French-Style Adaptations
Substitute bread flour for all-purpose and olive oil for neutral oils. Score the loaf top deeply with a lame or sharp razor before baking. Bake at 450°F on a preheated baking stone or sheet to maximize crust crispness. Higher protein bread flour creates the characteristic chewy interior associated with French baguettes.
The Science Behind Bread Making
Gluten formation occurs when water hydrates two wheat proteins—gliadin and glutenin—causing them to link into elastic networks. Mechanical kneading aligns these proteins, creating the structure necessary to trap carbon dioxide produced during fermentation. The windowpane test confirms sufficient gluten development when dough stretches thin enough to transmit light without tearing.
Yeast metabolism follows established biochemical pathways, converting hexose sugars into ethanol and carbon dioxide through anaerobic respiration. Optimal fermentation occurs near 80°F, though viable production continues across broader temperature ranges. The biological processes underlying fermentation resemble other controlled microbial environments, such as those examined when considering What Causes Vaginal Thrush – Key Triggers and Risk Factors, where microbial balance determines system outcomes.
Hydration percentages—calculated as water weight divided by flour weight—determine final crumb structure. Standard sandwich breads utilize 60–65% hydration, while artisan loaves may exceed 75%, creating larger air pockets and chewier textures. High baking temperatures (above 400°F) rapidly gelatinize starches on the exterior, forming the crust while interior moisture converts to steam, finishing the protein coagulation process.
Expert Insights and Sources
“The most common error in home bread baking involves adding too much flour. Dough should remain slightly tacky throughout kneading; dry dough produces dense, heavy loaves that resist proper rising.”
— Professional Baking Guidelines, King Arthur Baking
“Instant yeast eliminates the proofing step, allowing direct incorporation with dry ingredients. However, active dry yeast remains viable for beginners who prefer visual confirmation of yeast activity through foaming.”
— Bread Science Reference, Olga’s Flavor Factory
Final Thoughts
Homemade bread production remains accessible to novice bakers through adherence to precise temperature controls and timing protocols. Success depends primarily on viable yeast, proper kneading technique, and patience during fermentation periods. While variables like humidity and flour protein content require minor adjustments, the fundamental process produces consistent results across diverse kitchen environments. For those needing to calculate precise thresholds in other regulatory contexts, the Drink Drive Limit Calculator – UK Limits and BAC Guide provides analogous measurement precision for legal compliance.
Frequently Asked Questions
How should I store homemade bread?
Cool loaves completely before storing at room temperature in plastic bags for 3–4 days. For extended storage, slice and freeze in airtight packaging for up to 3 months.
Can I substitute instant yeast for active dry?
Yes. Use the same quantity (2–2.25 teaspoons) but mix instant yeast directly with flour rather than proofing in water first.
Why is my bread crumbly and dry?
Excessive flour measurement or overbaking causes dryness. Add one additional tablespoon of oil or butter next time and verify internal temperature reaches 190°F rather than exceeding it.
Is kneading possible without a stand mixer?
Hand-kneading requires 5–8 minutes on a lightly floured surface using heel-of-hand pushing and folding motions until dough becomes smooth and elastic.
How do I know when bread is done without a thermometer?
Tap the loaf bottom; a hollow sound indicates doneness. However, thermometer verification at 190–200°F provides the only reliable accuracy.
Can I halve this recipe for one small loaf?
Yes. Halve all ingredients proportionally and use a smaller 8×4 inch loaf pan. Reduce baking time by 5–7 minutes and verify internal temperature.
What causes large holes in my bread?
Over-proofing or insufficient punching down leaves excessive gas pockets. Degas dough thoroughly before shaping and monitor second rise carefully.
Related stories


Rachel Dunn covers culture, lifestyle and society stories across the UK.